DemoBuilder
Entra ID Private Access Fun
We are almost there! Here’s what we are going to configure on this section:
- Enable Entra Private Access
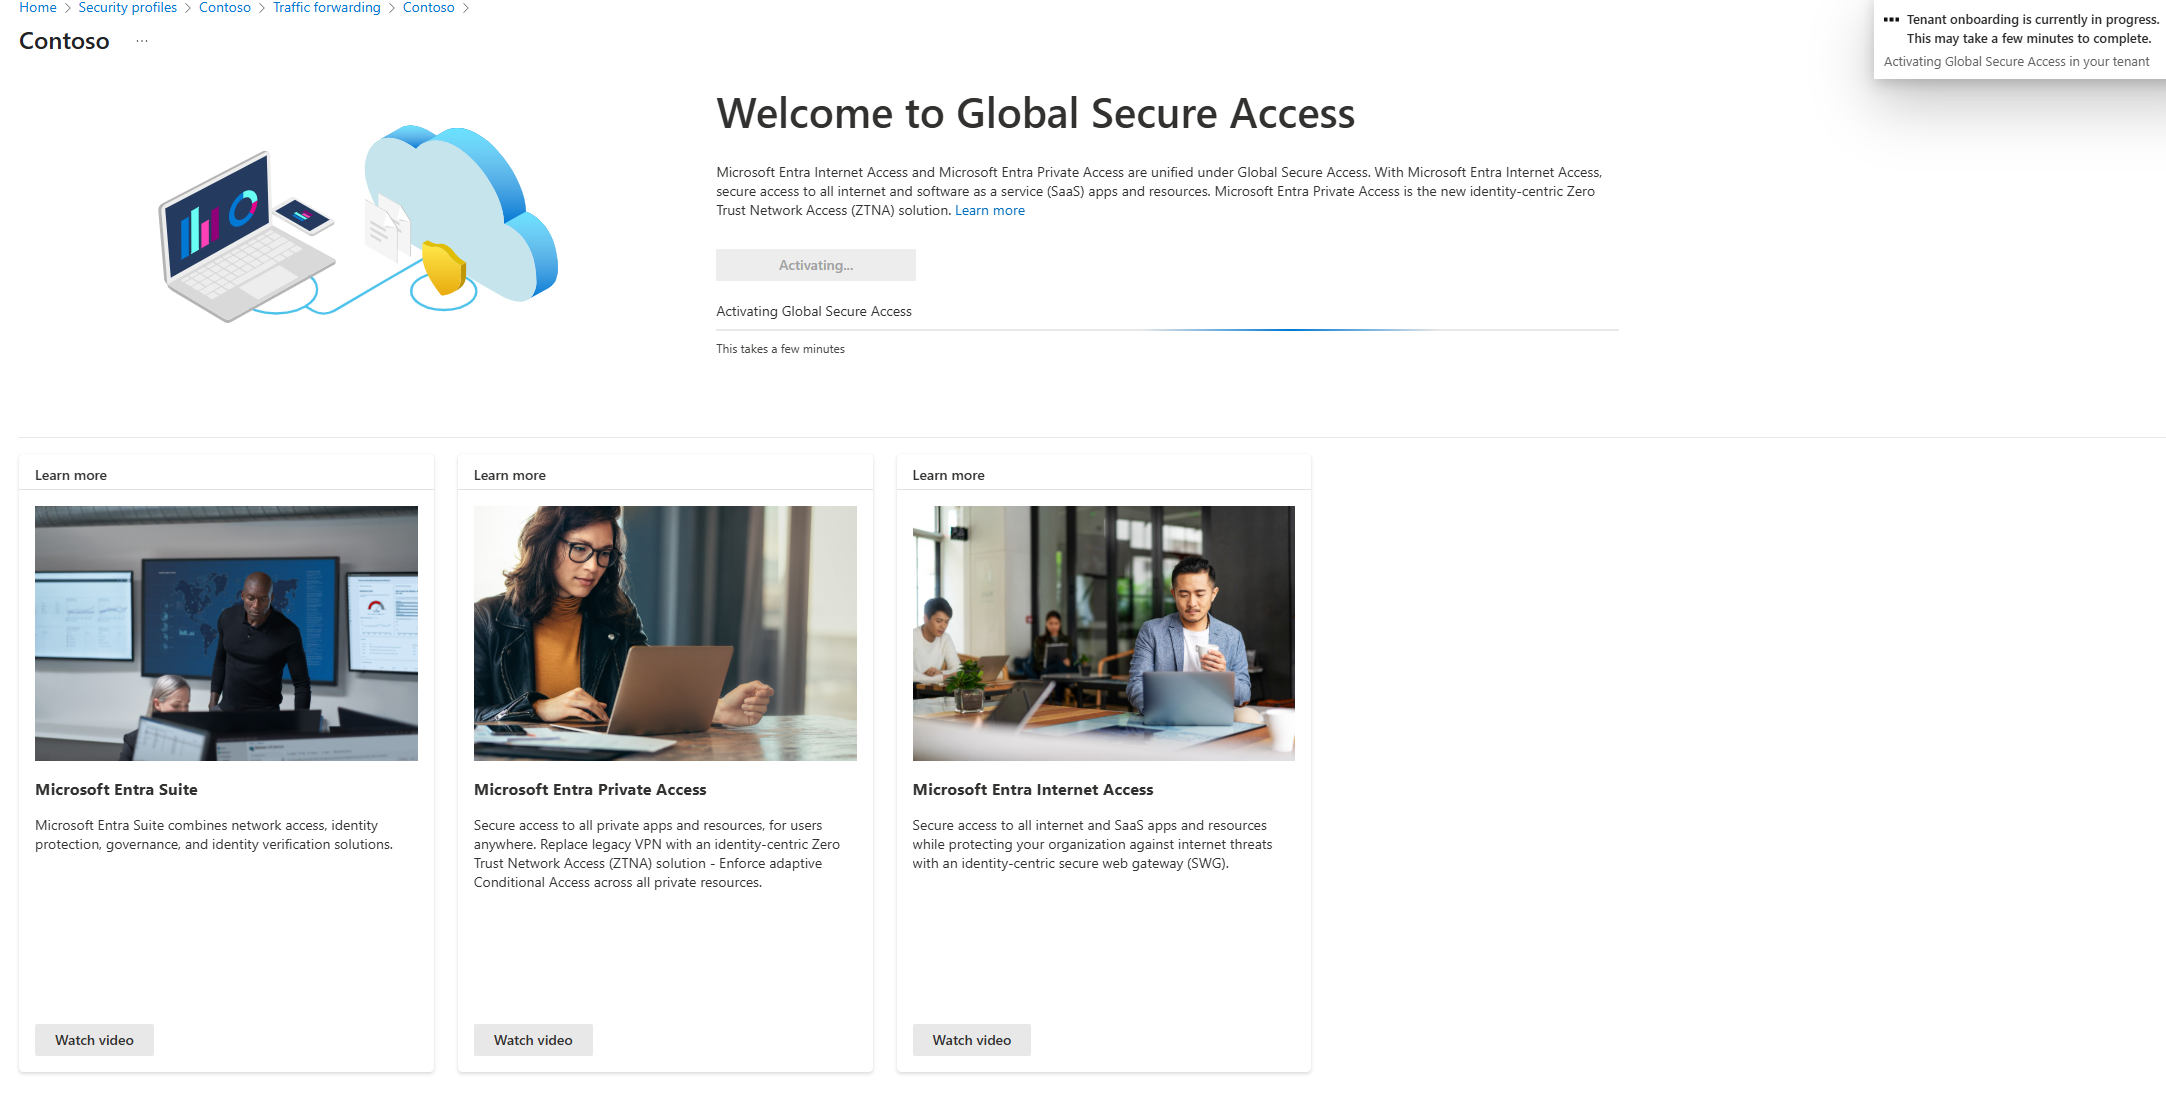 When accessing for the first time, you’ll see the Activate Button. Click on it and wait
- Install a couple of connectors
-
Follow this https://learn.microsoft.com/en-us/entra/global-secure-access/how-to-configure-connectors#install-and-register-a-connector. Pre-Reqs on this page don’t apply
- Install connector at least on the CloudCon Azure Server. You can also and optionally install it on DC01 as well.
- On the Azure Portal, GLobal Secure Access, Connect and Connectors. There, create a new Connector group, with “Azure” name, and select all the connectors you have
- Connectors should be “Active”
-
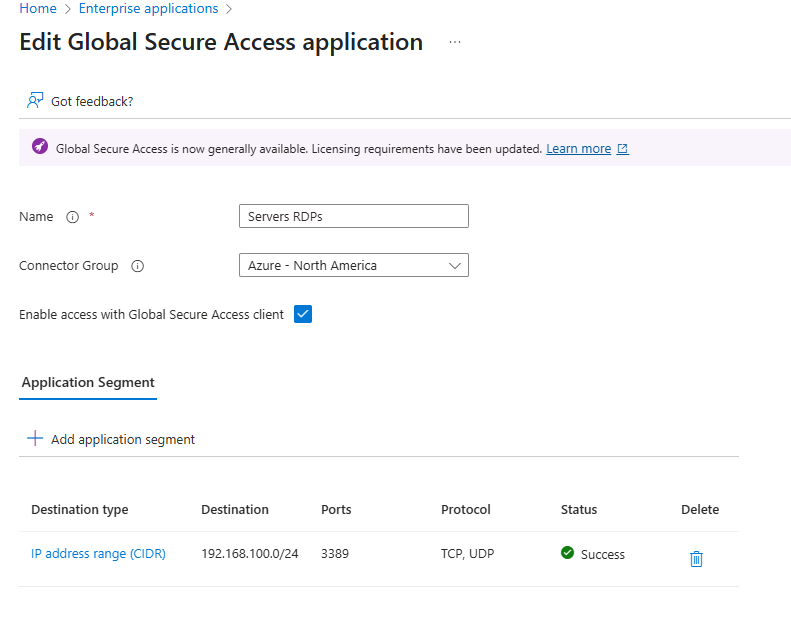
- Add RDP to the servers as test app
- On the Entra Portal, Global Secure Access, Applications, Enterprise Applications
- Name it Servers RDP (you could add 1 server per app, but here we will add the whole network segment)
- Select your Connector Group you created on 2.5 before
- Add App Segment
- Destination Type: IP Address Range (CIDR)
- Starting Address: 192.168.100.0
- Network Mask: /24 (256 Addresses)
- Ports: 3389
- Protocol: TCP,
- Click Apply
- Click Save on your App. You should see this:
- Add your user(s) to the App you just created.
- In GSA, go to Applications, Enterprise Apps, and click on your App
- Click on Users and Groups
- Add either your user, or your
Pim-Enabled-Adminsyou created on step 4 - Active Directory - If you have problems accessing, you can come back later and click on sign-in logs and check if a Policy is blocking you
- Optionally to require MFA, go to Conditional Access and create a new Policy
- Name: RequireMFAForRDP
- Assign to all users
- on Target Resources, select resources, select Servers RDPs app you created before
- Conditions, select Windows as the Device Platform
- Access Control, select Require Multifactor Auth or Require Auth strength as needed by your config. Enable Policy and create.
- This will require MFA the first time you connect via RDP to your servers while using GSA client.
- In Entra Portal, go to GSA, Connect, Traffic Forwarding and enable all profiles:
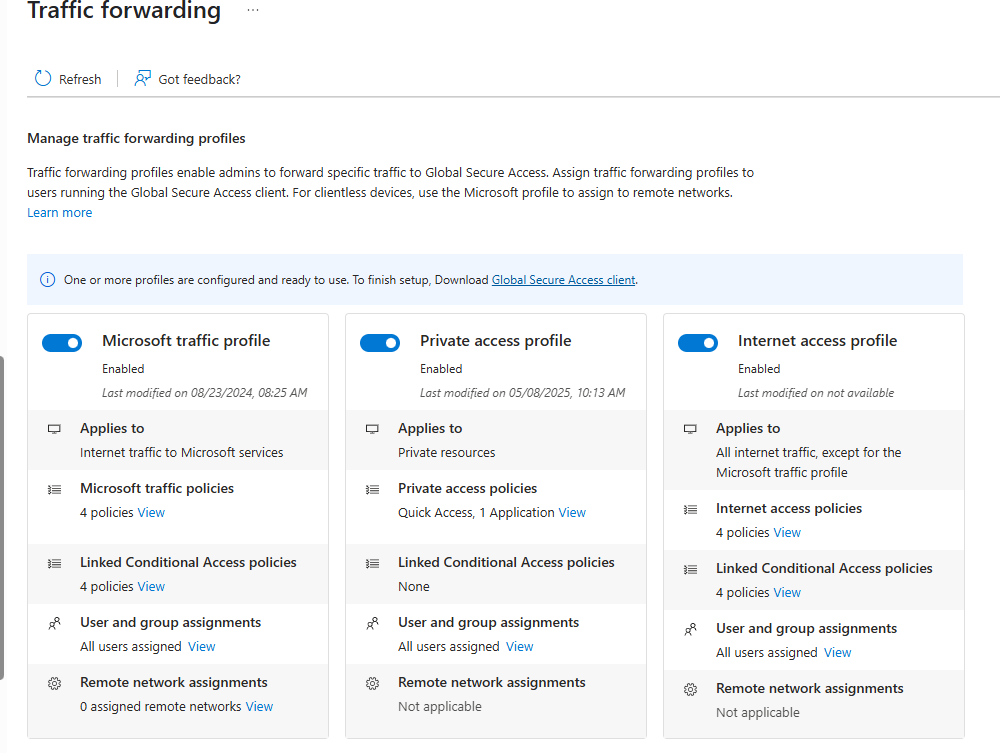 your data might be incomplete or different, its fine, my environment has a lot more stuff. Also, if you can’t enable any of the profiles, yell, I might have forgotten something
 - Manually deploy the Global Secure Access client to your hyper-v VM
- Manually deploy the client. https://learn.microsoft.com/en-us/entra/global-secure-access/how-to-install-windows-client This time we will use the manual installation.
- Make sure to open the agent and login. IT could be auto-login but our installation of SSO and KSO are too fresh, so lets make sure is automatic.
- Test the installation
- Now, Open the RDP Client of your choice in your Hyper-VM, and test your connection:
192.168.100.4, port is automatic. If you see the login prompt, use your credentials - You now should see either MFA if you configured it, and then your desktop. If it works, Urgently do next step
- Now, Open the RDP Client of your choice in your Hyper-VM, and test your connection:
- When able to RDP into the VMs from your Hyper-V VM, GO and remove the RDP open entry from your MotherOfNSG. (See here) It should be called
AllowMyIpAddressRDPInbound